Master the Art of Winged Eyeliner
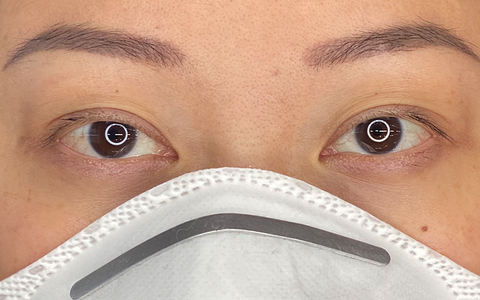 Before
Enter: Mini, the master artist from Beauté Academy who is known for her incredible eyeliner tattoos with the best healed results. She even tattooed Tina’s eyeliner! With clientele from around the world seeking her expert artwork, along with thousands of students requesting training for this technique, Mini, Tiffany and Laura, AKA Beauté Academy, created one of the most in-depth online Eyeliner Tattoo courses the PMU world has ever seen - Fundamentals of Eyeliner Tattoo.
 Tiffany, Laura and Mini from Beauté Academy
 Mini working on her client
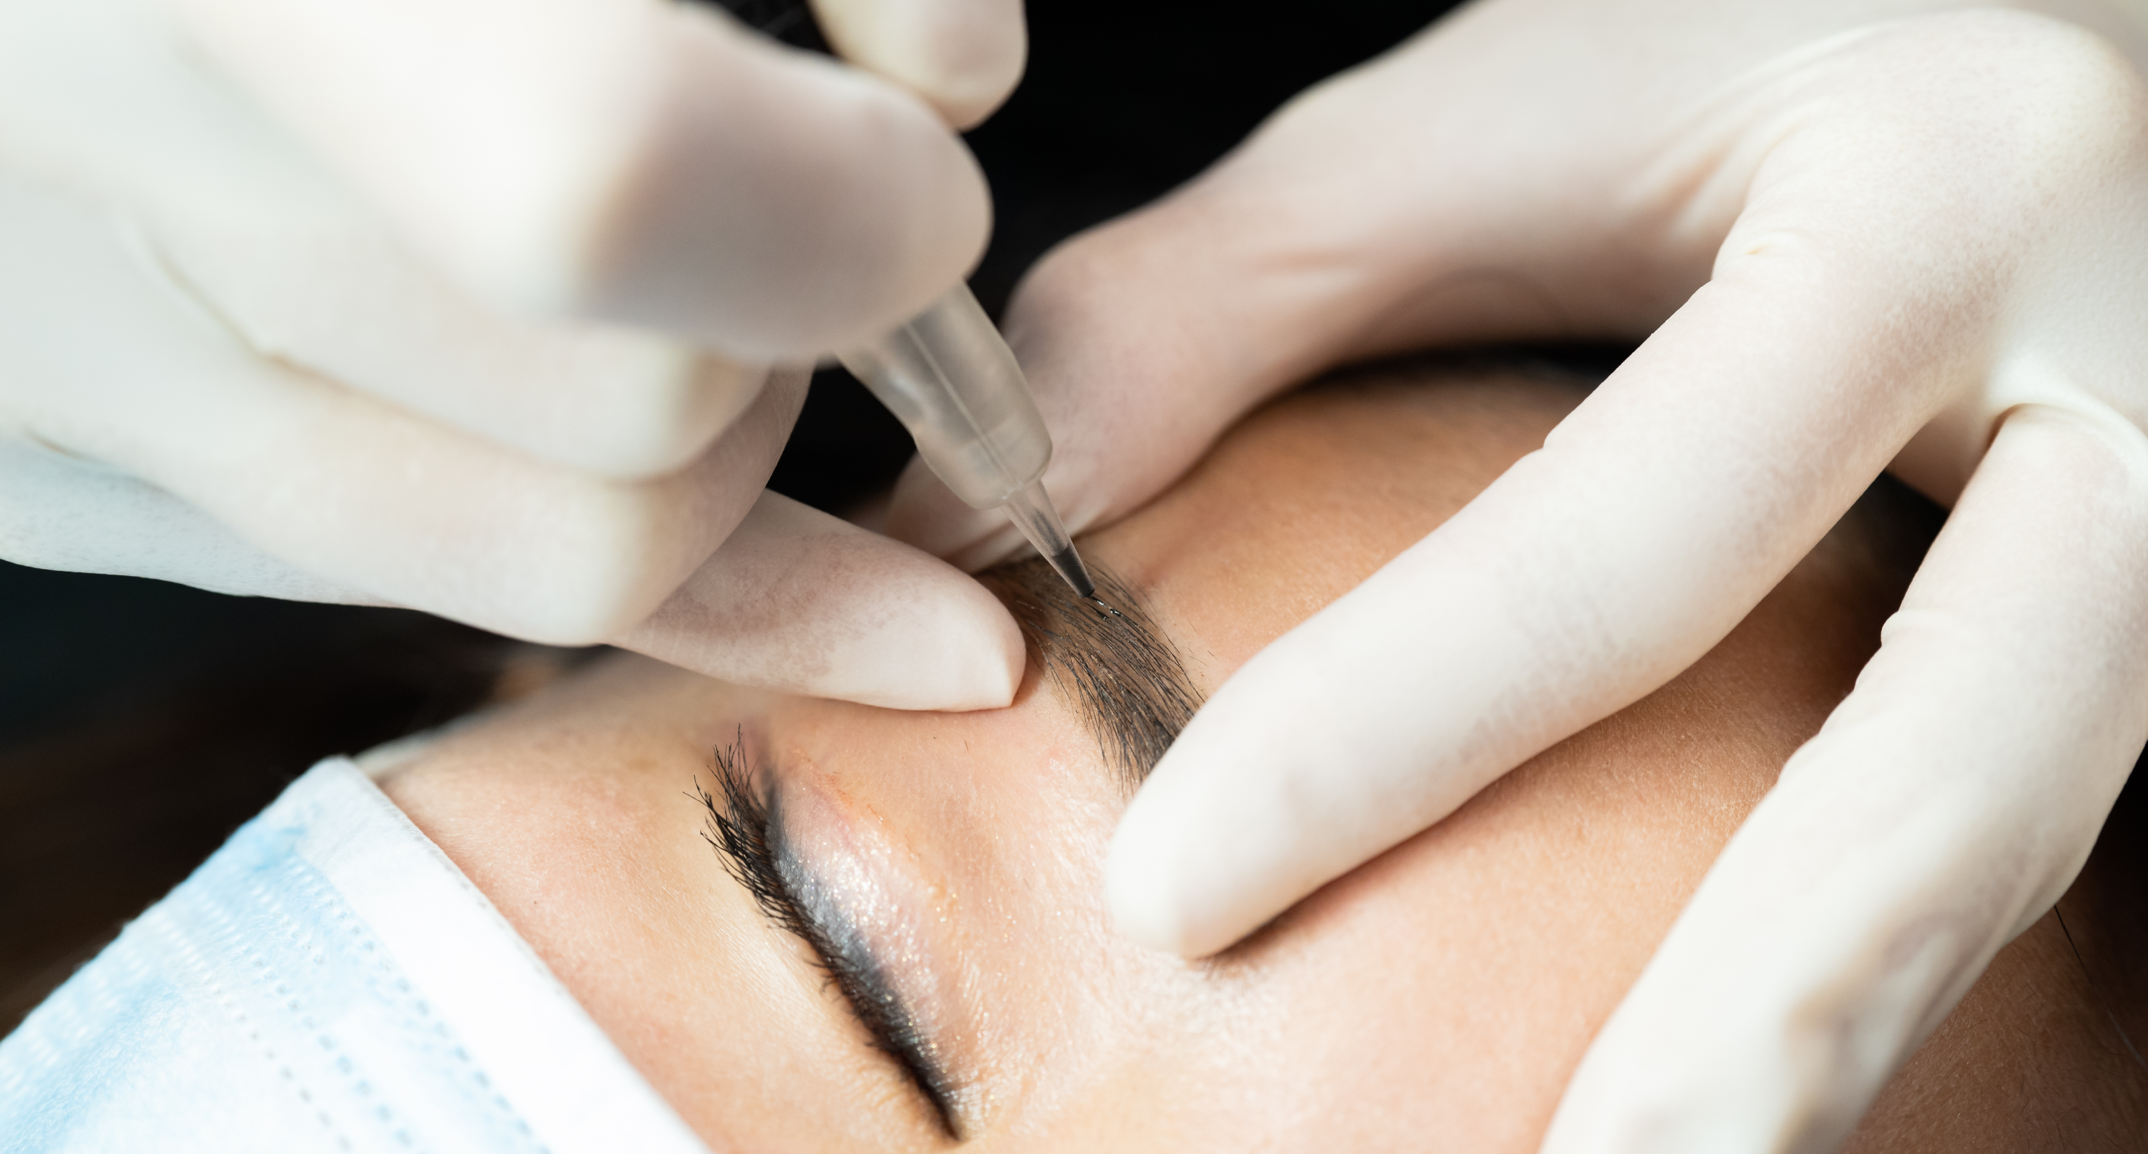
Procedure Steps
1. Consultation
- Have your client complete a health history form. (Find a handy template in the Fundamentals of Eyeliner Course)
- Take ‘before’ photos of your client.
- Discuss the eyeliner shape.
- Go over the procedure steps to put your client at ease.
- Explain the post-care instructions. (Find a handy template in the Fundamentals of Eyeliner Course)
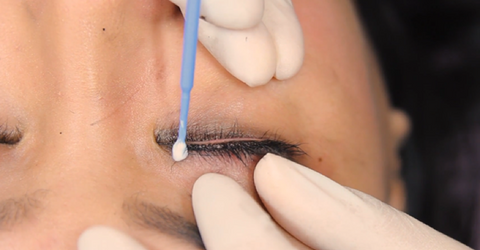
2. Disinfecting Eyes
- Wash your hands thoroughly with soap and water.
- Moisten a clean cotton swab or gauze pad with distilled water and wipe gently over the eyelid OR purchase any over-the-counter eyelid cleanser and use as directed.
- Pat dry before applying the numbing cream.
3. Pre-Numbing
- Apply Zensa numbing cream for 25 minutes.

- Tuck in a wet gauze (wet with distilled water) under the eyelid, cover the eyelid with plastic wrap.

- Clean off the numbing cream after 25 minutes.

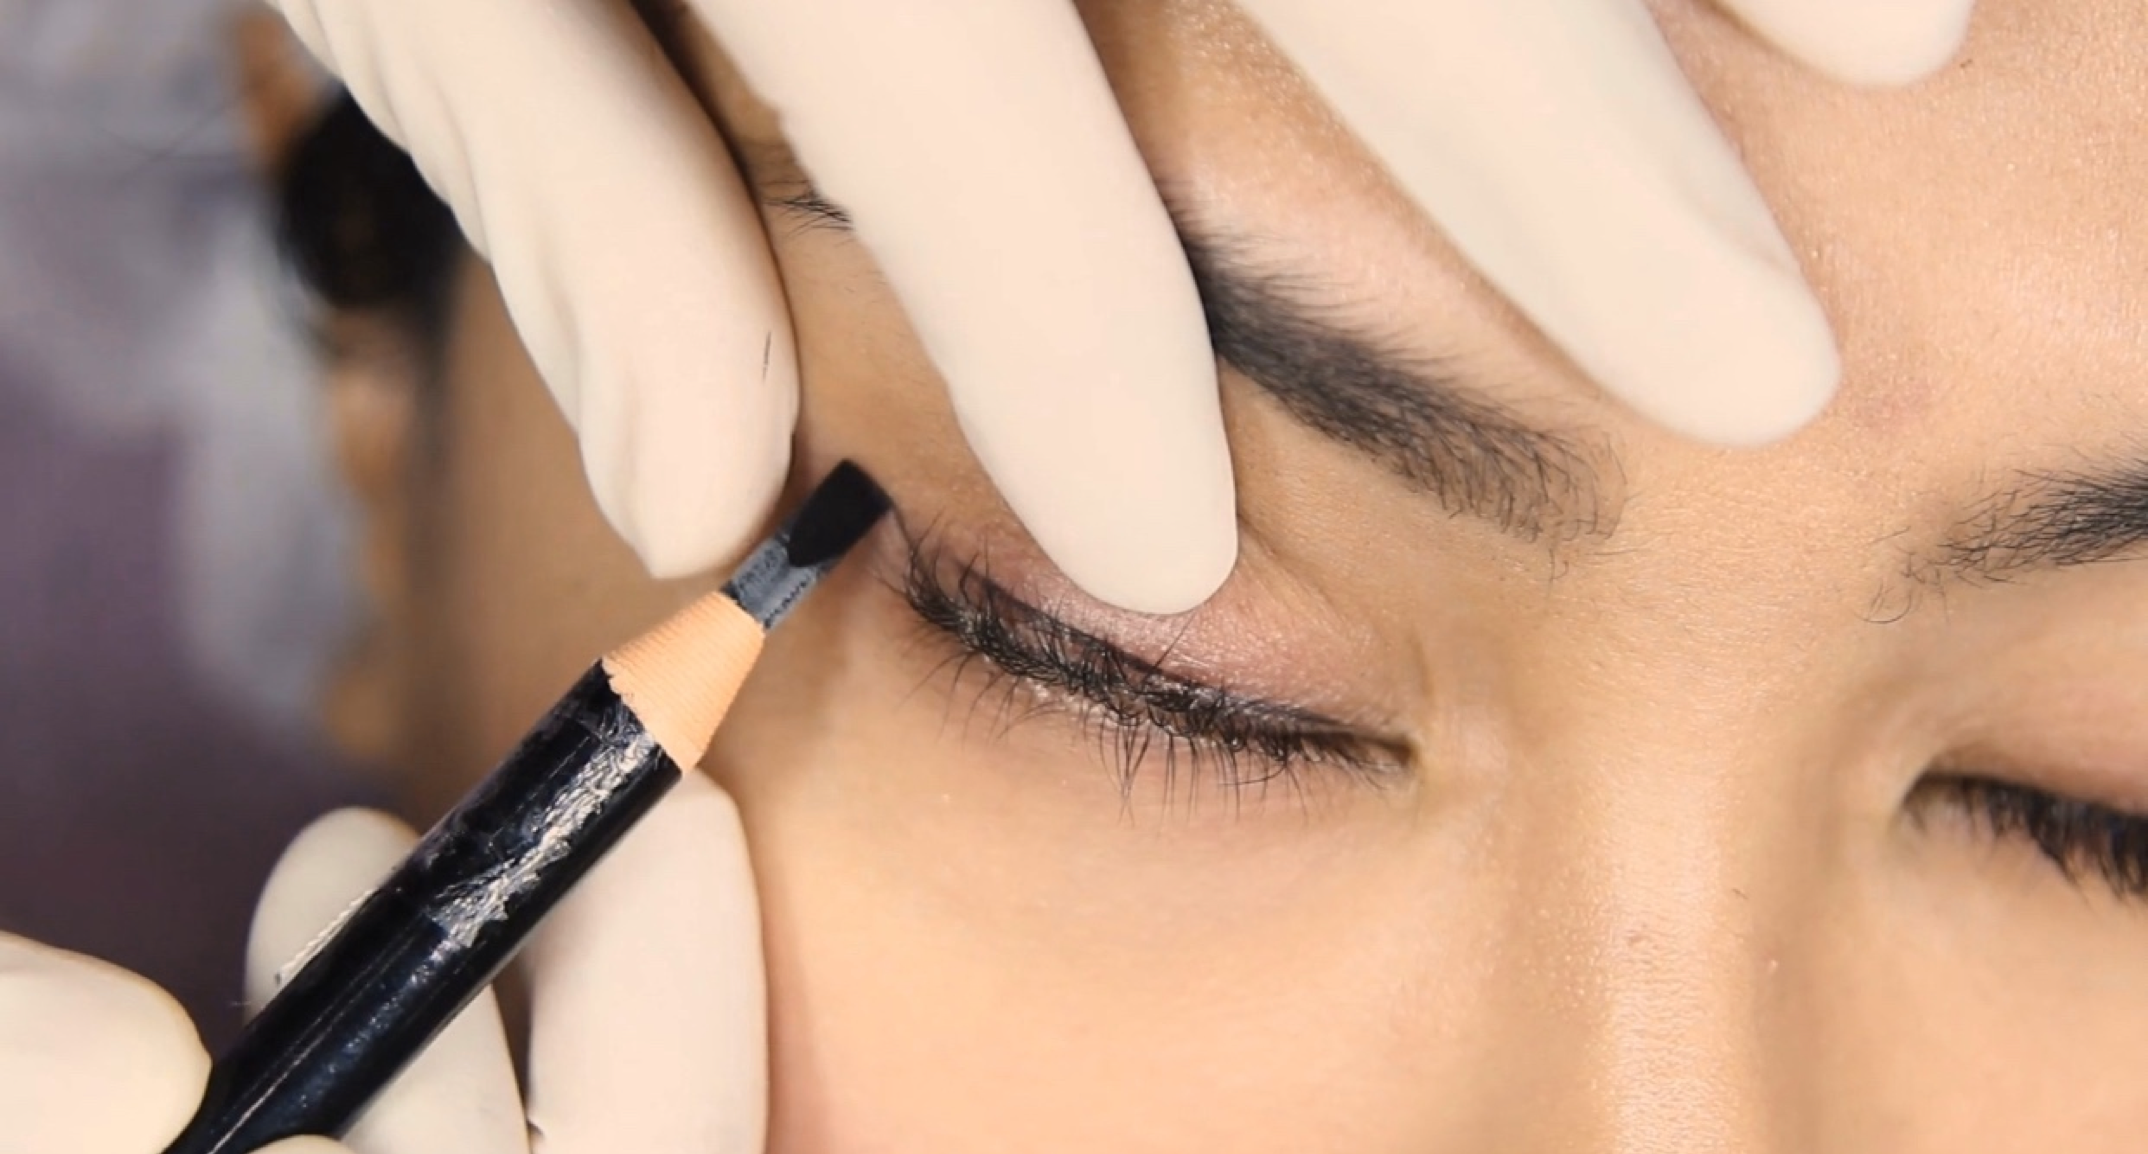
4. Design
- Draw the eyeliner shape using a black pencil while the client is lying down. (In the course, Beauté Academy provides extensive training on how to pre-draw different eyeliner shapes for different eye shapes!)


- Have the client sit up to check the shape.
- Repeat the above steps until the client is satisfied with the shape.
5. Outline
- Outline the shape with 1R needle.

- Shade quickly inside the outline to open skin for second numbing.
- Apply Numbing Mix (Mini uses 50% Tag #45 + 50% Zensa) and tuck in a wet gauze under the eyelids.
- Repeat the same steps on the opposite eye.
6. Shading - 1st Pass
- Shade with 1R needle or the needle configuration of your choice using the correct shading technique. (In the course, Beauté Academy provides detailed instructions to master different shading techniques!).

- Apply Numbing Mix (50% Tag #45 + 50% Zensa) and tuck in a wet gauze under the eyelids.
- Repeat the same steps on the opposite eye.
7. Shading - 2nd Pass
- Shade with 1R needle or the needle configuration of your choice using the correct shading technique.

- Remember to use the correct pigment mix for 2nd pass. (In the course, Beauté Academy covers pigment selection for every skin tone!).
- Apply Numbing Mix (50% Tag #45 + 50% Zensa) and tuck in a wet gauze under the eyelids.
- Repeat the same steps on the opposite eye.
8. Shading - 3rd Pass
- Shade with 1R needle or the needle configuration of your choice using the correct shading technique.
- Remember to use the correct pigment mix for 3rd pass.
- Make sure the entire shape is filled in evenly.
- Repeat the same steps on the opposite eye.
9. Finish-up
- Gently clean the eyelid using micellar water.

- Take ‘after’ photos.
 After
After

Before and After
As with any other permanent makeup procedures, your clients will experience mild scabbing and some swelling during the healing process. It is always a good idea to prepare your clients for the worst and educate them on what they can expect during the healing process. In the Fundamentals of Eyeliner course, Mini and Beauté Academy dive deep into the healing process and how to prepare your client for the easiest healing process and optimum healed results.

Mini
Learn More
Like what you read and want to learn more from Beauté Academy? Once you master the art of eyeliner tattoo, word of mouth will spread amongst your clients and your business will boom.
Eyeliner Tattoo can be intimidating for artists of any experience level. That’s why we’ve launched Fundamentals of Eyeliner Tattoo by Beauté Academy on The Collective!
This course covers everything from client care to step-by-step instructions on how to tattoo the perfect eyeliner - not just one style but ALL the eyeliner styles.
Delve into vast details in various topics such as: choosing the right colour for best-healed results, addressing different eye shapes, technical skills involved to achieve excellent colour penetration and much, much more!
 The different eye shapes covered in the course
With 4 demonstrations on LIVE models as well as skin pad demonstrations, this course has it all.
 Skin Pad Demo - Powdery Design Eyeliner
The course even contains downloadable cheat sheets, client forms, practice pages and more:
- Pre & Post Care
- When and How to do a Touch-Up
- Machine Principle & Technique
- Colour Theory
- Skin Structure
- Signs of Poor Technique
- Health & Safety
- Skin Pad Demos:
- Lash Line Enhancement
- Solid Design Eyeliner
- Powdery Design Eyeliner
- Shadow Eyeliner with Outline
- Shadow Eyeliner without Outline
- Live Demos:
- Lash Line Enhancement
- Classic Winged Eyeliner
- Underline
- Old Tattoo Colour Correction
Want a sneak preview of the course content?

Don’t miss out.
TAKE THE COURSE
More from Beauté Academy - Ombré Brows Online
Brace yourself for the most in-depth ombré brows online course you’ll ever take. This technique has gained its popularity all over the world because of its soft finish and amazing healed results. Take your technique to the next level and learn how to create these beautiful powdery ombré brows. Your instructor, Tiffany from Beauté Academy, will cover everything you need to know about this highly-requested machine technique.
Watch the trailer:
Leave a comment
This site is protected by hCaptcha and the hCaptcha Privacy Policy and Terms of Service apply.