Lauren's microblading experience
I finally did it. After weeks of anticipation, I finally got my eyebrows microbladed!
As I said in some of my live videos, I’d been wanting to have this done for a very long time, ever since I realized that I had completely over-tweezed and over-waxed my brows in the 90s. I even thought about doing it before my wedding this past October, but I couldn’t find the right microblading artist for the job.
As a new addition to the Tina Davies team, I was beyond honored to have my brows done for our new launch of the Tina Davies Aftercare Gel. I was really excited to get a chance to show everyone the process step by step, day by day, from the beginning of the microblading procedure to the very end of the healing journey.
 My brows before the procedure
I experienced some sensations I did not expect and learned how incredibly involved microblading is from a client’s perspective. In order to do any service, I think it’s important to put yourself in the client’s shoes so that you can know exactly what they experience, psychologically, emotionally, and physically. I was more than happy to step up to the challenge.
Awaiting the Procedure
The day of, I felt OK. Because of my experiences with body tattoos, I thought that I wouldn’t have any problem during the procedure.
As per Tina’s recommendation, I didn’t have any caffeine or alcohol before hand because it may cause the skin to bleed more during the procedure. Aside from that, I didn’t really do anything else in preparation. I still had makeup on, but my skin was hydrated, and I had made sure to drink plenty of water leading up to procedure day (it’s important to keep the skin hydrated from the inside as well).
Getting closer to the procedure, I started to get a little nervous. I just wanted to get it over with! Even with my previous tattoo experience, I had some apprehension, so I tried my hardest to not show any fear. Inside, I was starting to get a little freaked out. I kept it cool though, and waited for us to get to procedure time.
The Numbing and Pre-Draw
Tina put numbing cream on my brow area about 20 minutes before we got to the actual pre-draw. I was assuming that I wouldn’t be able to feel the area at all, but Tina explained that the numbing agent only targets the skin as opposed to the nerves, which means that only sensation on the surface of the skin is dulled. The numbing cream felt very cool, and after waiting for about 20 minutes, Tina was ready to do the pre-draw.
If you saw our live video, you’d know that my #browinspo was Audrey Hepburn. I think that when it comes to a classic shape that never goes out of style, no one even touches her look. She’s a brow icon for a reason.
 Showing Tina my inspiration; the great Audrey Hepburn!
When Tina did the design, I was initially hesitant because the brows looked fuller than I thought they would be. Tina and I had to chat about it, talking about the pros and cons and making sure that I was comfortable with the design. Keep in mind, I had very little hair around the tail of the brow, so whatever way we went about this, I was going to feel like they were fuller than I was used to.
 Tina penciling in my brows with the Tina Davies Pro Pencil in Black
Tina was very open to suggestions and requests. After we agreed on a shape and fullness that made us both happy, it was time for the main event.
The Microblading Procedure
I want to take this moment to say that I’ve done it all. I am well-versed in the idea that pain = beauty. I have numerous tattoos, have gone through countless waxing procedures, and have a very high pain tolerance. I know that some people said that microblading was painful, but I felt like it was going to be a piece of cake.
I’m being as real with you as possible when I say that it REALLY hurt. It was probably an 8 out of 10 on the pain scale. The sensation itself is like having a cat scratch into your eyebrows repeatedly, nice and slowly. Sounds awful, right? I’m not going to lie, it wasn’t awesome.
Anyone who’s ever had a tattoo will tell you that once you start doing it, you can’t stop. There are few things that look weirder than an unfinished tattoo, so once you start with microblading, you have to keep going and move through the pain. I kept my focus on how amazing my brows were going to be and tried my best to breathe deeply.
Much like the experience of getting a body tattoo, you get used to the sensation after a while. When more numbing cream was applied, I was actually fine. Tina did two more passes after the initial one, and I could barely feel the needles. I was pretty comfortable until Tina starting the shading process, which felt a bit like someone stabbing me over and over again with a tiny pin. I braced myself for this part. It felt entirely different from microblading, and even with more numbing cream, I could still feel it.
The wiping that Tina did during the tattooing felt a bit raw as well. As time went on, I could feel that my skin was becoming irritated with the repeated action. If you’ve had a body tattoo, you can relate to a similar feeling. The wiping that a tattoo artist does throughout the process can start to feel a bit raw as you go along, and after a while, you start getting a little tired of it.
At last, Tina was done and it was time to take a look at the results. I was SO thrilled! It turns out that all of the pain was very worth it. My brow shape was exactly what I wanted it to be, and I had that full, sassy look that Audrey Hepburn rocked when she was in her prime. I immediately determined that I would go through every cat scratch and pin stab, just to get to that result again.
After the Procedure
Tina explained to me all of the aftercare procedures, how I should use the Tina Davies Aftercare Gel, and some of the things that I would likely encounter in the coming weeks. I’ve read a lot about what can happen when microblading goes wrong, so I wanted to make sure that I was doing everything right.
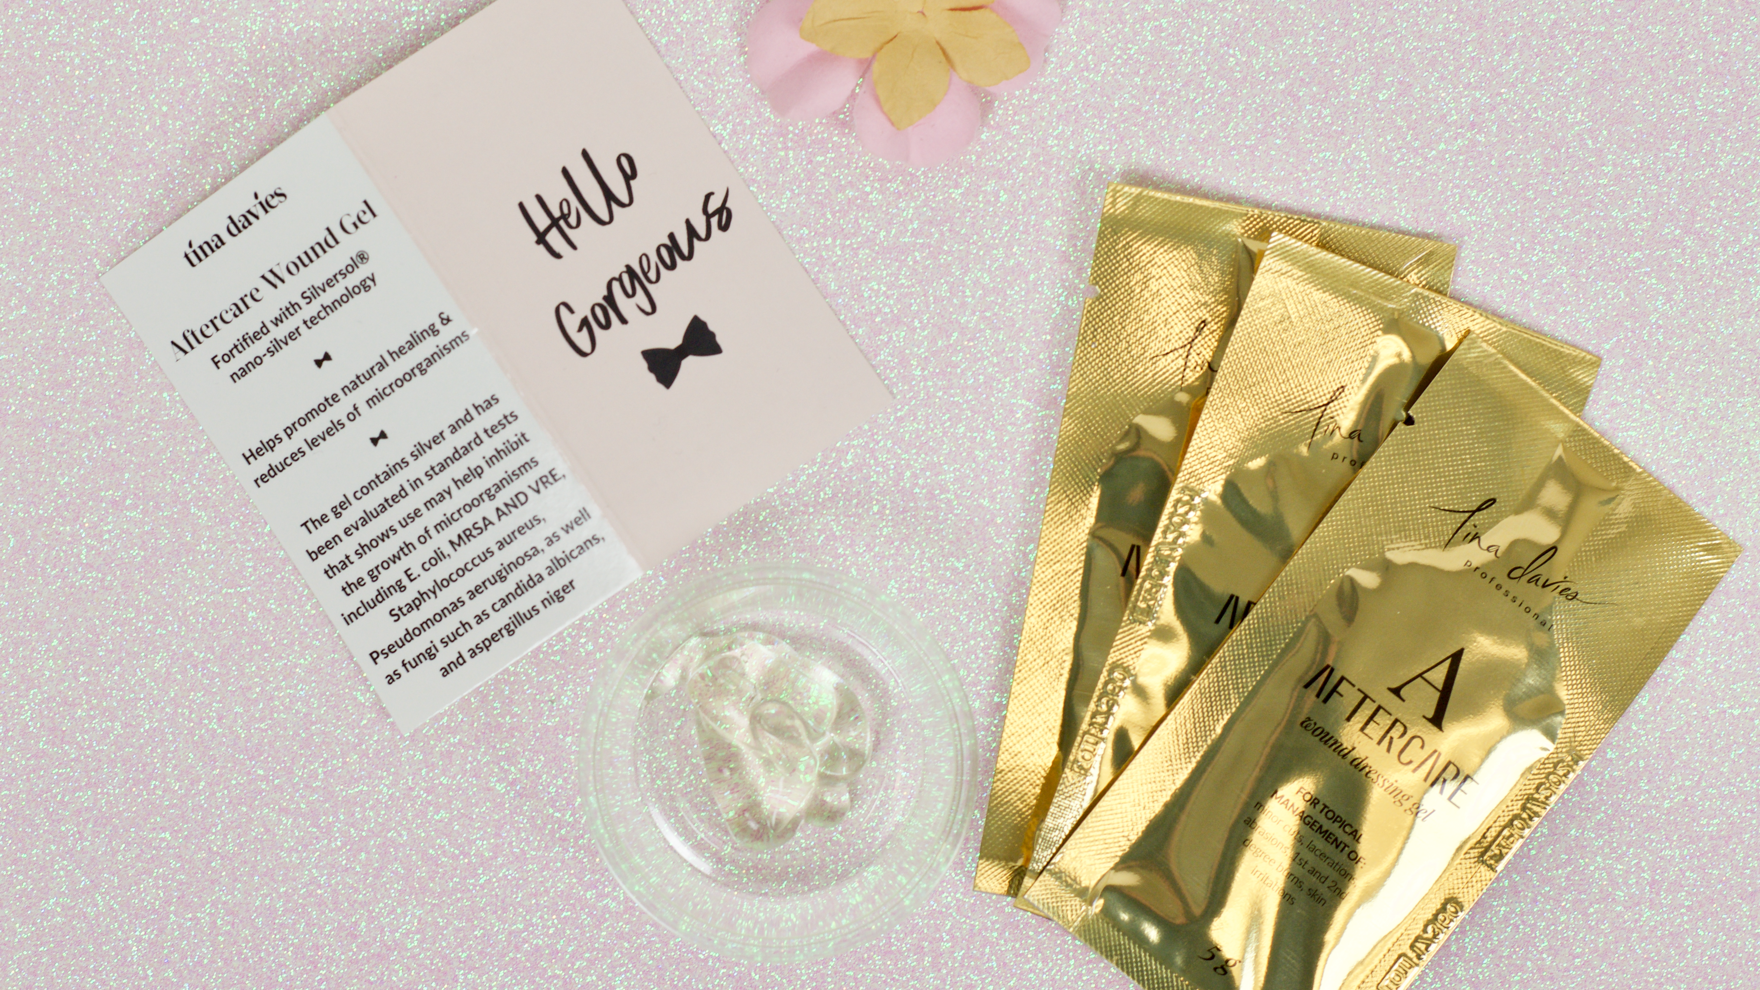
 Tina applying the Tina Davies Aftercare Healing Gel on my skin
We also did a “final look”, a consultation to make sure that everything was exactly the way that we both wanted. Tina saw a couple of spaces that she wanted to fill in and I went back to the procedure bed to get a few more strokes done. My brows were pretty tender, so Tina applied a little bit of numbing cream before she made those last passes.
The healing journey can be long. It’s usually about a month before they start looking normal, and there may be a lot of ups and downs before microblading looks exactly the way you want it to. I’ve read a lot about the process and I felt like I knew what I was in for. I knew it was going to be worth it, but I had to prepare for the road ahead.
Some Final Thoughts and Helpful Tips
The advantage of working at Tina Davies Professional is that I get to see things from both the client’s perspective and the artist’s perspective. Not only am I able to write articles that can help both groups, but I can, to a certain extent, put myself in the shoes of both the artist and the client. Experiencing a microblading procedure on my own skin REALLY helped me understand what it feels like to be a client.
At this point, I want to talk about a couple of things that are important for clients to think about when they are considering microblading, or are even to consider when they are about to go through the procedure. Feel free to share this entire article with your clients, just so they know exactly what to expect when they go under the needle.
The pain.
Clients really need to know that they have to expect some pain or discomfort. There’s just no way around it. Even with the numbing cream, they will still feel some sensation because essentially, they’re getting a tattoo on their face. However, pain is beauty, as they say, so remind them that it’s worth it. I would go through this procedure a thousands times over, despite the pain, just to get the beautiful brows I have today.
It feels a bit weird.
Aside from the pain I’ve mentioned, there was a bit of unexpected sensation. I sneezed quite a few times in the beginning (apparently, a lot of people sneeze), and I found that the headlamp Tina used was really bright, causing me to squint and my eyes to water. It took me some time to get used to these sensations.
It feels like it takes forever.
When Tina told me that the actual procedure only took about 30 minutes, I thought that it would be no big deal. But while you’re on the procedure bed, it feels like it’s a lot longer. Just remind your client that they need to keep as still as possible and be patient.
No talking.
Because we were doing a video, I was talking a little bit, but typically, you should limit movements as much as possible. More movement is more chance for something to go wrong; it’s better to be safe than sorry.
Do the research.
I was super lucky to have Tina Davies do my eyebrows. I already know her work and I’m aware that she’s a pro, so I had no worries. However, the average client may have to do a little research before they choose the right microblading artist for their needs. Make sure that your clients are completely familiar with your work, and have access to your portfolio so that they know what to expect in terms of your artwork. A client has to feel comfortable with you in order to keep their trust in you during the process.
The healing journey is a long one.
Even with expecting a journey in the healing process, I never really believed that it was going to be as much of a journey as it was. Make sure that as an artist, you explain in detail what your client is going to experience, from the tenderness, to the scabbing, to the part of the healing when it feels like they are losing their entire eyebrow. Make sure that they’re mentally prepared for the journey because it IS a journey.
Artists should also give a handout to their clients explaining what they can expect day by day so that there’s no shock and anxiety when they see the changes in their brows.
It’s worth it!
I can’t say this enough. If you’ve ever been insecure about your brows, the microblading process is worth every scratch, scab, and sensation.
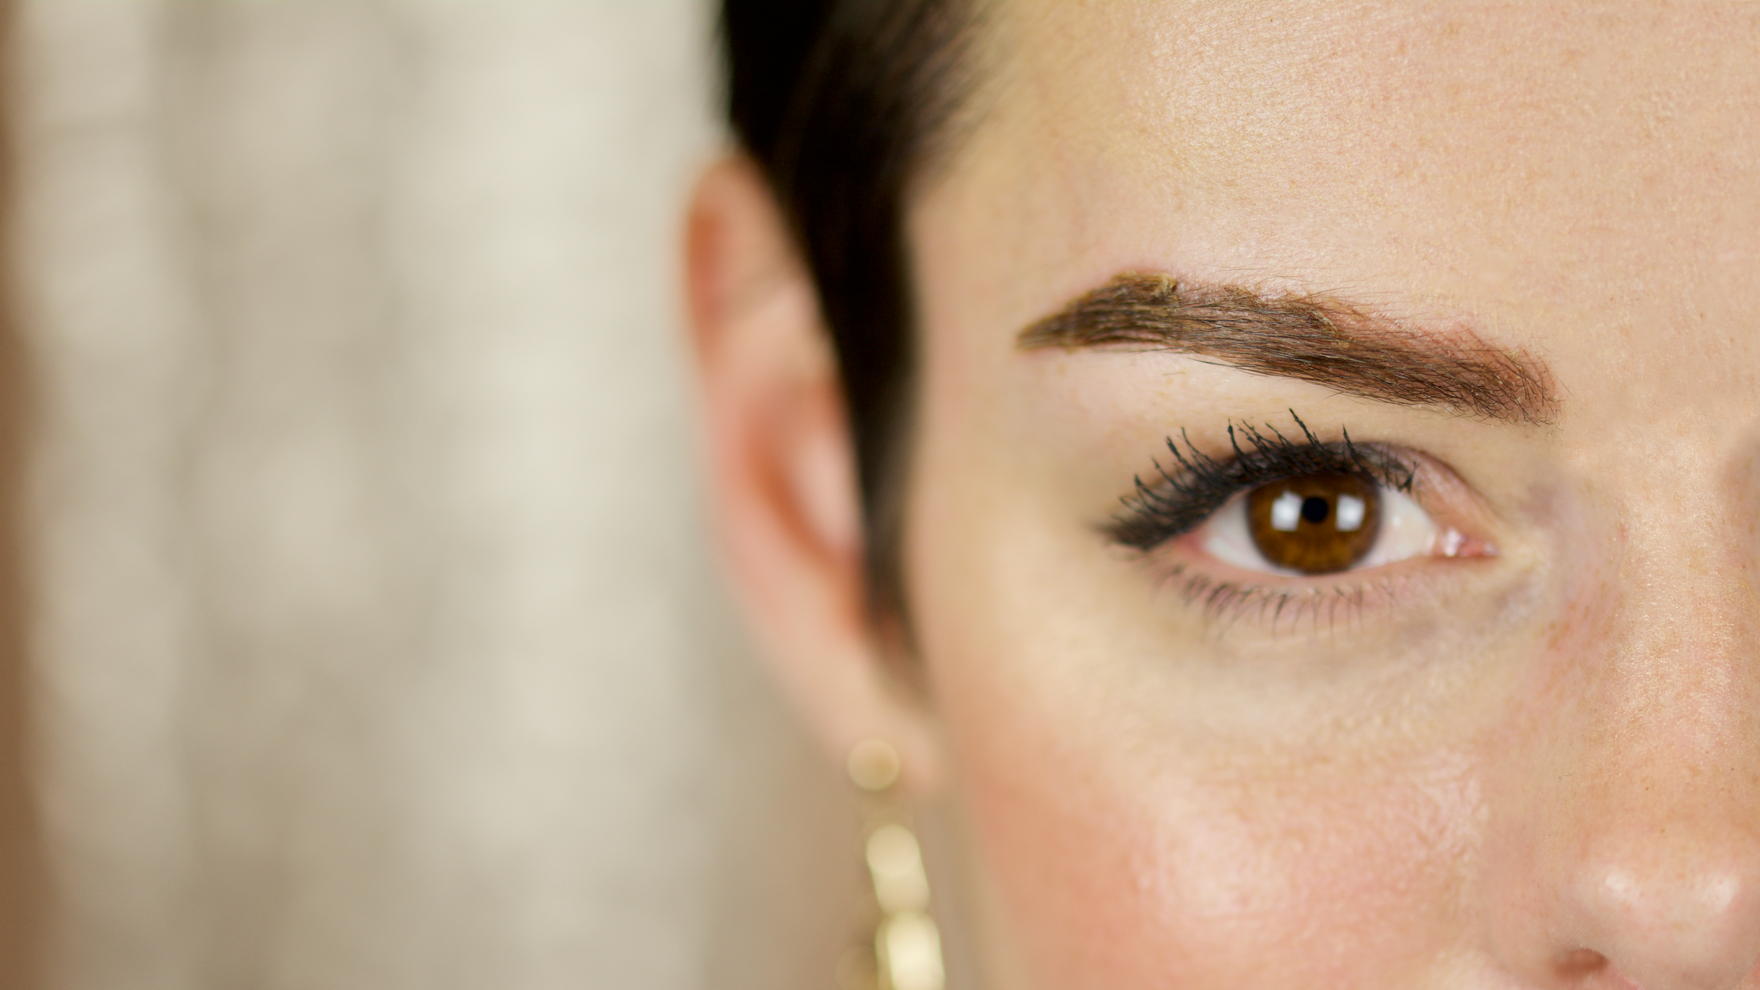
 The immediately after pic. I feel gorgeous!
XO
Lauren
You've been asking for them, and they're back! The 16 component Sterile Kit will make your PMU and microblading setup, quick and easy.


Leave a comment
This site is protected by hCaptcha and the hCaptcha Privacy Policy and Terms of Service apply.