Easily mix pigment in 5 easy steps!
Mixing pigments can be a messy job, but I've been doing it long enough, I've picked up a couple of tricks along the way that makes it faster, easier, and more effective!
When you mix your pigments, follow these 5 Easy Steps to cut down on time, and ensure they are mixed well.
1. Pro tip: Take the cap off first, hold a cotton pad over the nozzle, and shake. This will prevent the pigment from making a mess inside of the cap, which will then make a mess all over your workstation. Do this for all the pigments you will be combining.
2. Shake the pigment: Make sure you shake the pigment well before pouring it into your pigment cup, this way all of the liquids that make up each of your pigments are well-mixed.
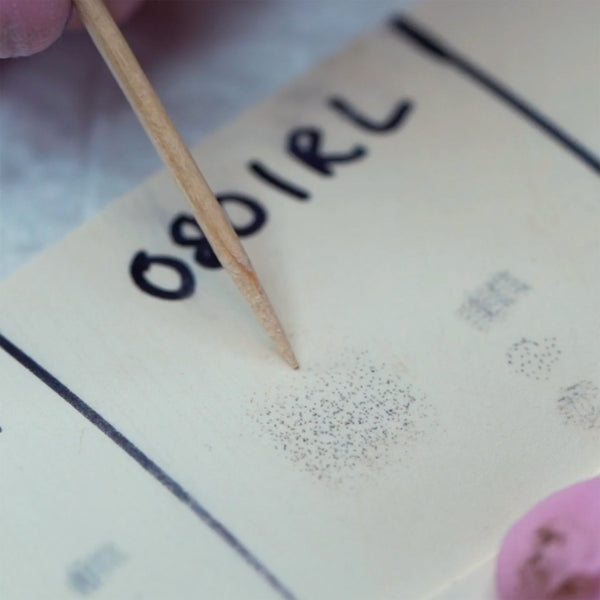
3. Pour the pigments you are mixing into the pigment cup 3/4 of the way. Don't forget to record your ratios into your client notes for easy future reference.
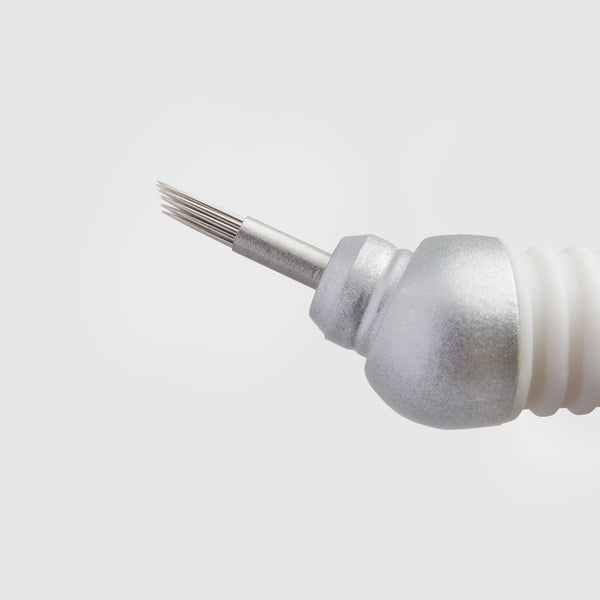
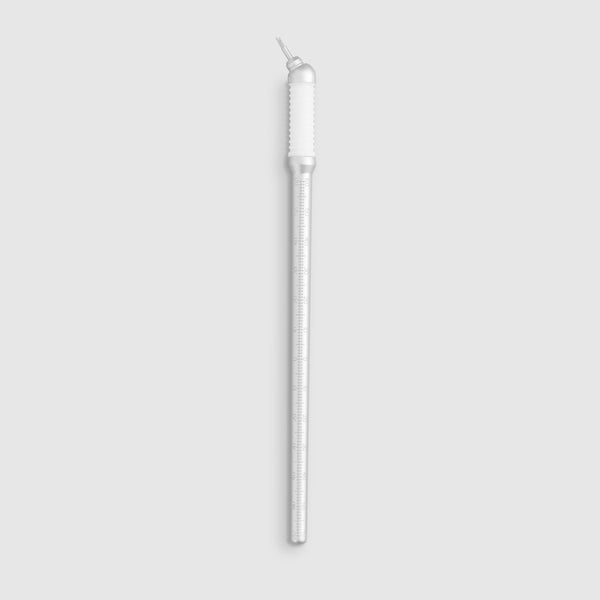
4. Ditch the toothpick, and grab a handy electric pigment mixer found on Amazon (Get it here) and mix the pigments together well for about 15 seconds. This will ensure that the two colors are well combined to make the new color you desire!
5. Insert a sponge into the pigment cup to avoid spillage. These custom sponges come in our 16 component Sterile Kit along with our customer pigment cups that fit conveniently into the rings provided as well!
Now you are all ready to start microblading with your perfectly mixed pigments.