Microblading healing day by day

Microblading is changing people’s lives - creating convenience, building confidence, and letting people sleep in longer in the morning - seriously. Having the opportunity to have a microblading procedure took 20 minutes off of my makeup routine every morning.
But with social media showcasing people’s airbrushed lives, artists and clients tend to showcase perfect, immediately after work, often leaving out the raw experience and the ups and downs that go along with the healing of permanent makeup.
Showing the results just immediately after a procedure is not the same as showing the entire process, and can leave client’s who get the procedure with A TON of questions about their healing process. The procedure itself is only about 10% of the true microblading experience, and the next 30-60 days after are the real deal.
So for anyone considering a procedure, and for artists who want to show their clients what they can expect during healing, below is the real experience of the healing process for the first month - the good, the bad, and the scabbing.
For a detailed look at my pre and post aftercare instructions as per Tina’s recommendation see our blog post on Prep & Aftercare and PMU Aftercare 101.
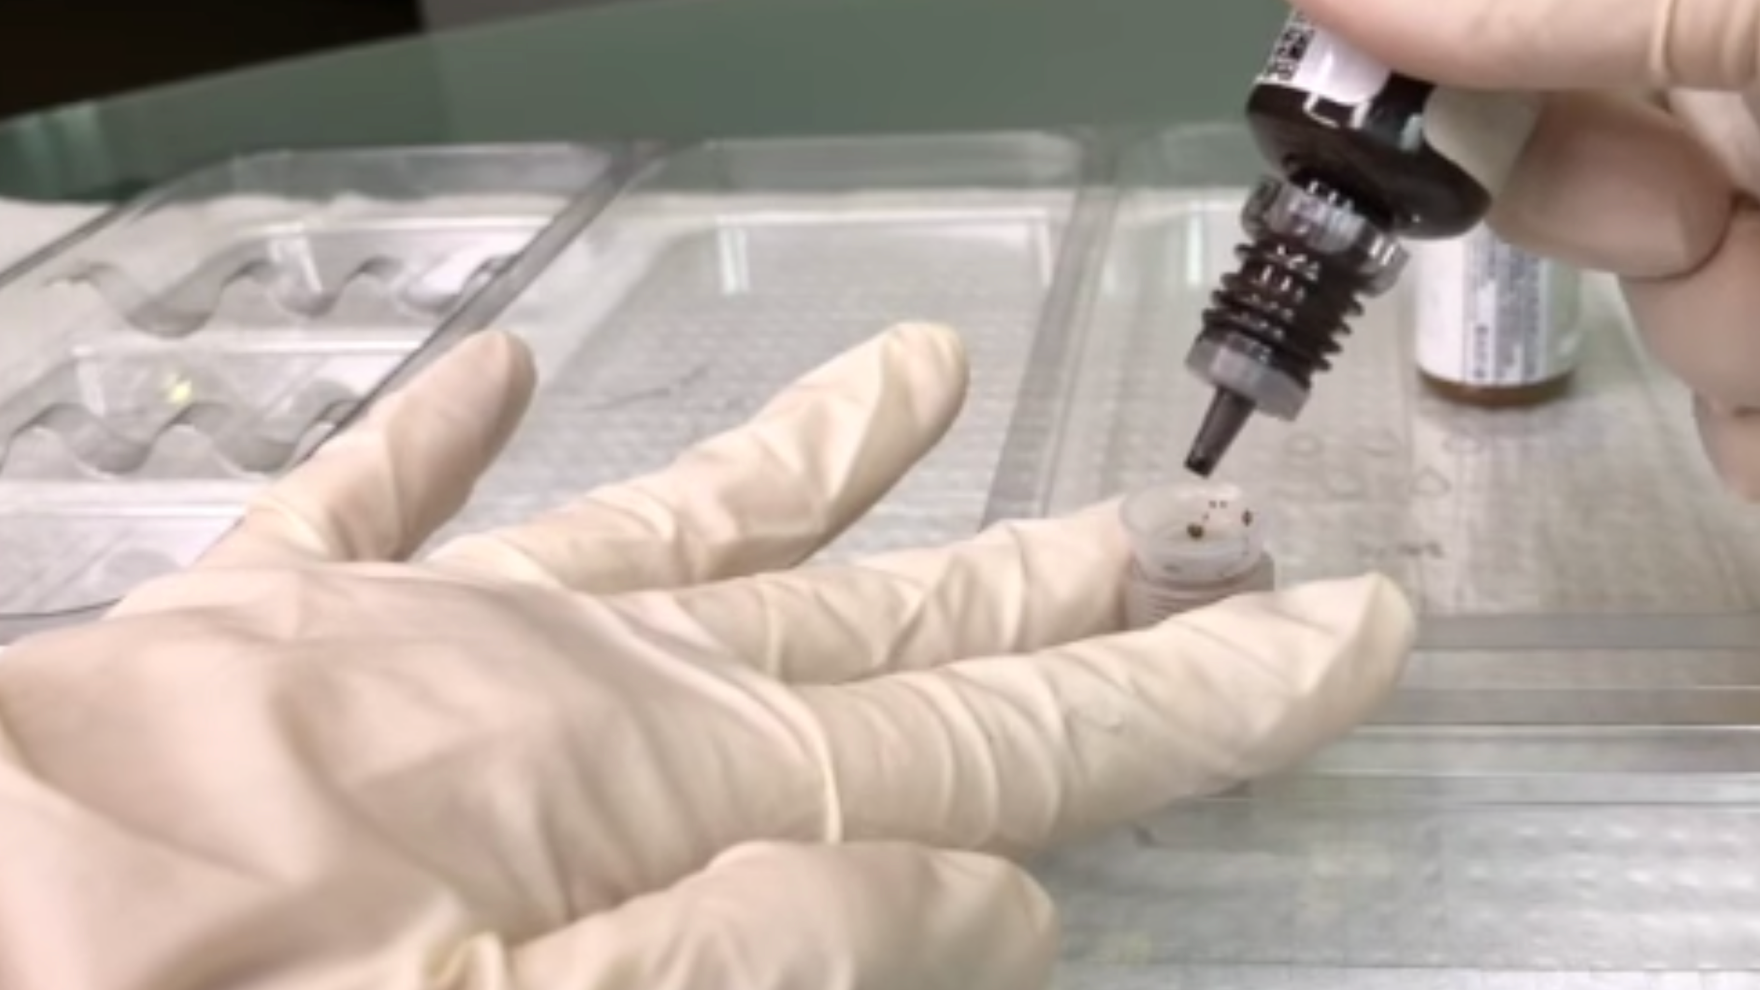
I used the Tina Davies Aftercare Healing Gel throughout my healing process for days 1-7, you can read more about this on our blog here.
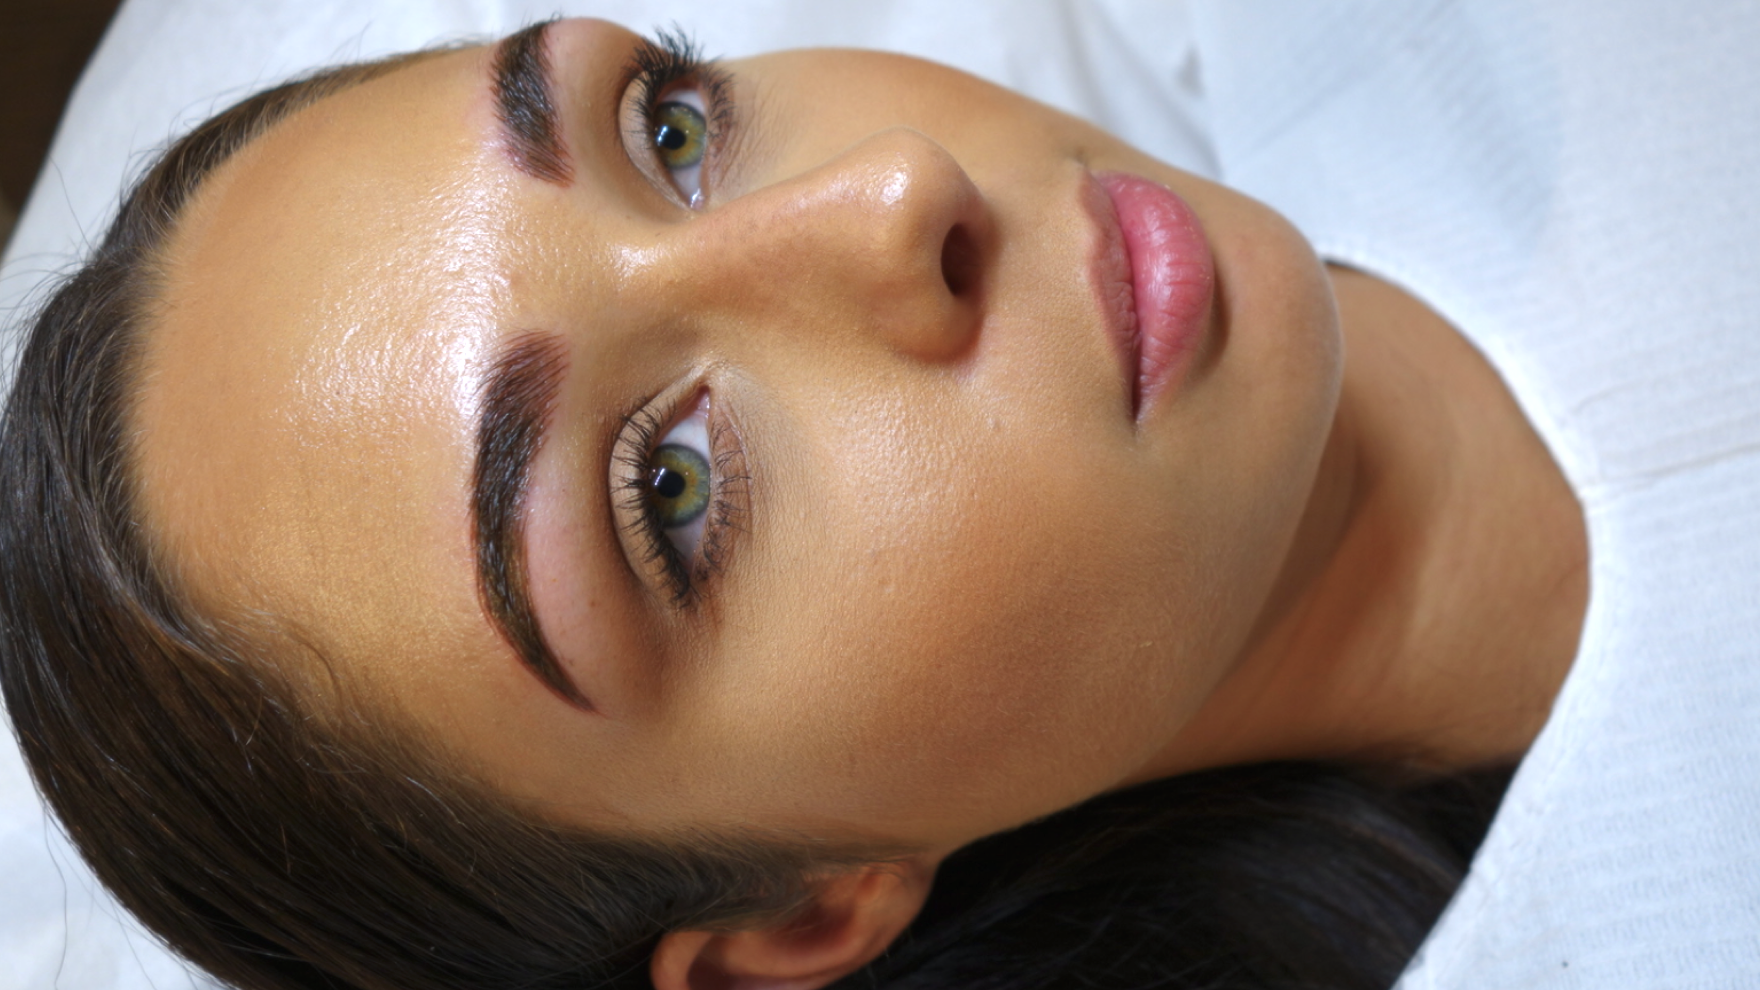
Here are my natural eyebrows - pre-microblading:

DAY 1
Day 1, you're excited! You get to go into your artist’s studio with patchy uneven brows, or no brows at all and voila, you come out with legitimate hair strokes that you want to show off to the world, literal #browgoals.

Before and Immediately After
They look textured, dense albeit a little bit red, but it’s a world of a difference, you feel like a changed person. Your brows are bold in colour. If you aren’t used to filling them in a lot, they will look slightly more dramatic in appearance than normal, tender, slightly swollen, and you may even experience some slight bleeding. The day you get them done you may be in awe of your fresh set of brows.
If you’re used to filling them in and are used to bolder brows, you may be in love. If not, don’t panic. The permanent makeup has been applied to compensate for fading of 20-40%, so if they look darker than you normally wear your brows, stay calm, the colour will fade over the next week.


DAY 2
You will try really hard not to sneeze, because of the multiple tiny paper cut-like wounds on your face, but I had mine done during allergy season, and there’s no avoiding it. Your brows will be reddish, still quite tender, and maybe even a little bit thicker in texture than the day before. You may really notice the difference in your brows and feel like people are looking at them, but chances are you’re more self-conscious about it rather than people noticing them being darker than normal.
At this point, I really loved the way that they looked and was super happy with them. I could still see every hair stroke that was made and the redness for me had subsided a lot. They had not started to form hard thick scabs yet. Day 2 was pretty easy.

DAY 3-4
By Day 3, you shouldn’t notice a huge difference from the previous two days, if anything, the pain and tenderness will start to subside, and the brows will get slightly dark or thicker, but nothing major. At this point, you’ll probably be loving the convenience of getting up and having instant brows without the hassle of having to create them yourself. You’ll likely find yourself daydreaming about beach days with completely waterproof brows, but don’t act on this at LEAST until day 10!
DAY 5

Day 5 is when things start to change. This can be the turning point in the healing process, where your brows are getting itchy and it is advised to NOT scratch them, as the wound may still be open. A thick layer of scabbing may form, and the fine hair-strokes that were created may be hidden. You may feel like you want to start panicking. RESIST the urge to blow up your artist’s phone firing off questions and accusations alike. You have a wound on your face, therefore your body is trying to repair itself, hence the scabbing. It’s all a part of the healing process, and if you’ve had any other kind of tattoos in the past, it heals very similarly.
Just know that this is totally normal and even if it doesn’t look pretty, you shouldn’t worry, they’re going to be #browgoals again in no time.
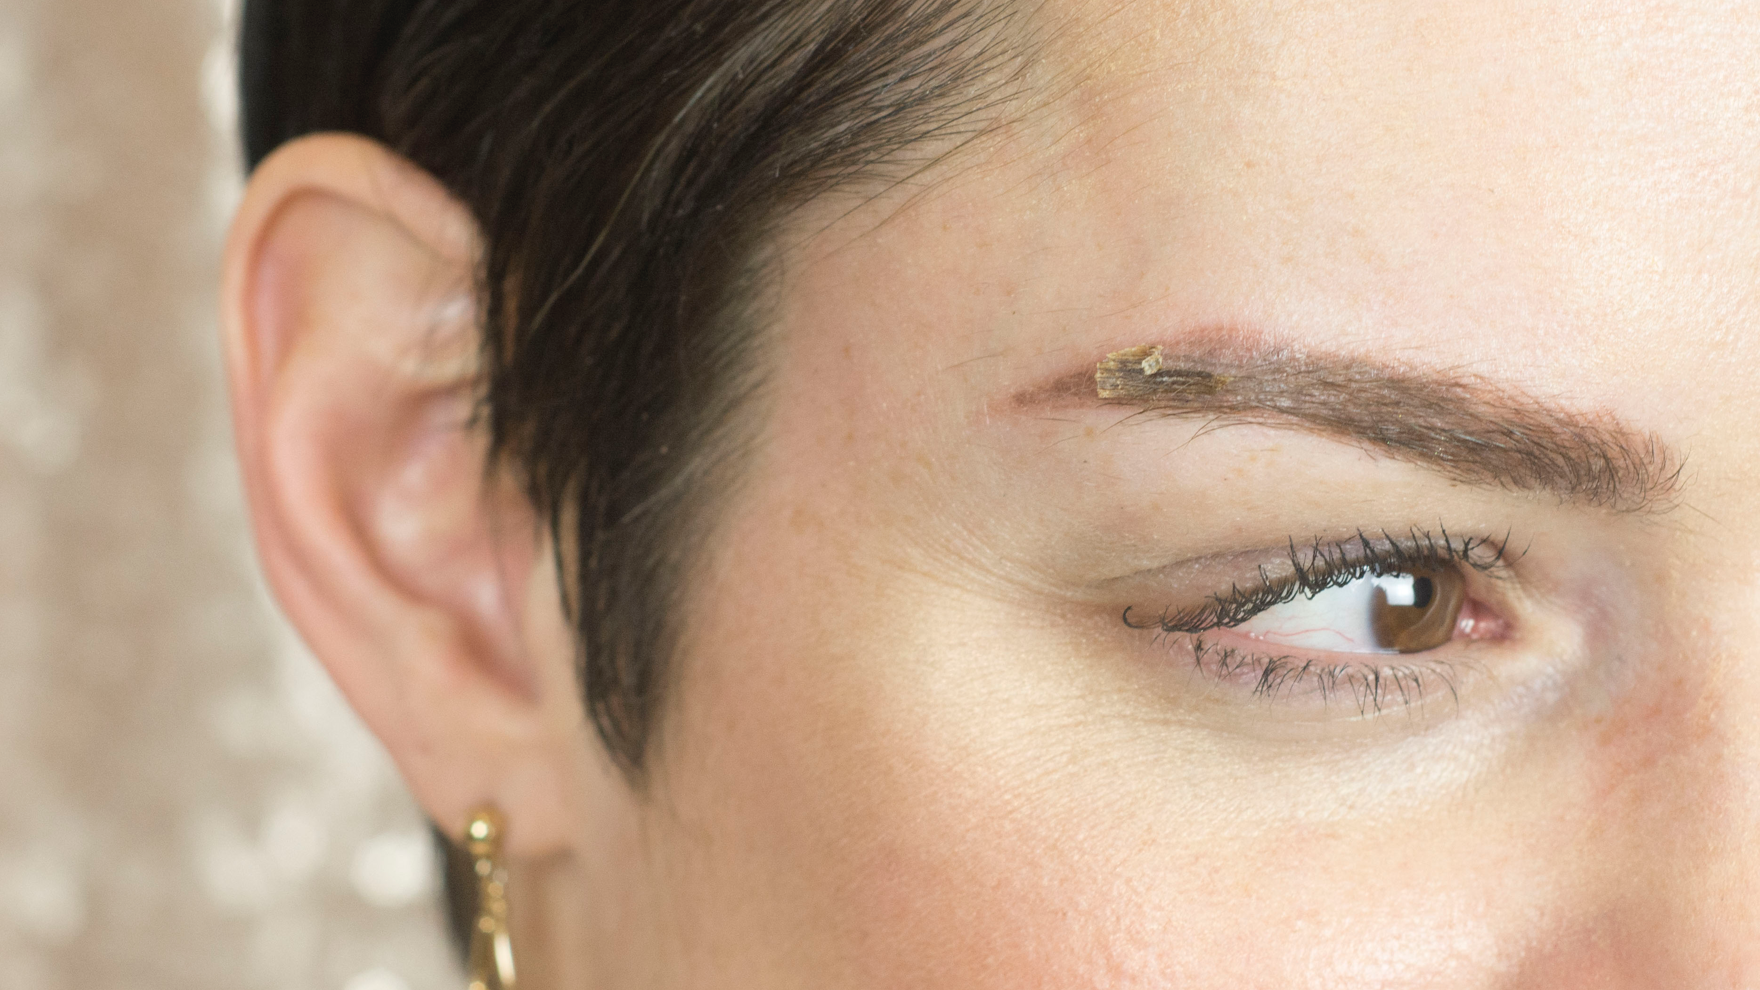
DAY 5-7

This is the scary time period when the serious scabbing will start, and begin to peel away from the skin. If you’re anything like me - you will be extremely tempted to pick or peel the scabs. Don’t give in to this temptation, it could affect your healing very negatively. If you pick it, you could lose pigment that was deposited into the skin and could end up with a holey, patchy eyebrow. By gently rinsing the area regularly the scabs will slowly start to fall off - when they’re ready. This phase is definitely the hardest of the process. As a client looking on social media, I haven’t seen anyone talk about or show this side of the microblading healing process. All we see is perfectly fresh strokes, but scabbing? Who knew your entire eyebrow would shed and go through this transformation? It’s so important for clients to know and truly understand the whole process, and really be assured by their artist that what they experience is perfectly normal, and necessary for their eyebrows to heal properly.
At the end, they will have the brows they always wanted.


DAY 7-10
Your scabs will probably be all flaked off or flaking off on their own by this point and you’ll start to see the light at the end of the healing tunnel. But because the skin has not completely mended itself back together, there may still be some cause for concern. The colour during these days may seem way too light or even grey and missing in spots. You might feel like your skin didn’t take the pigment, but that’s not the case. They’ll almost look like you’ve filled them in with a powder, so again just remain as calm as possible and begin to start enjoying the fact that your eyebrows are done for you every morning. It’s important to note that at this stage, the wounds should be closed so if you’re feeling self-conscious about the light look of them, you are able to apply some makeup to fill in for the time being.


DAY 14-21
Healing is almost complete! YAY! You’re almost there.

The colour and definition of the hair-strokes will return at this point. The colour is beginning to even out and look more natural and brow-like. People you tell about the procedure won’t even believe that it’s a tattoo. It’s truly amazing. You’ll be settling into your new shortened makeup routine - oh and those waterproof brow beach days? AMAZING!

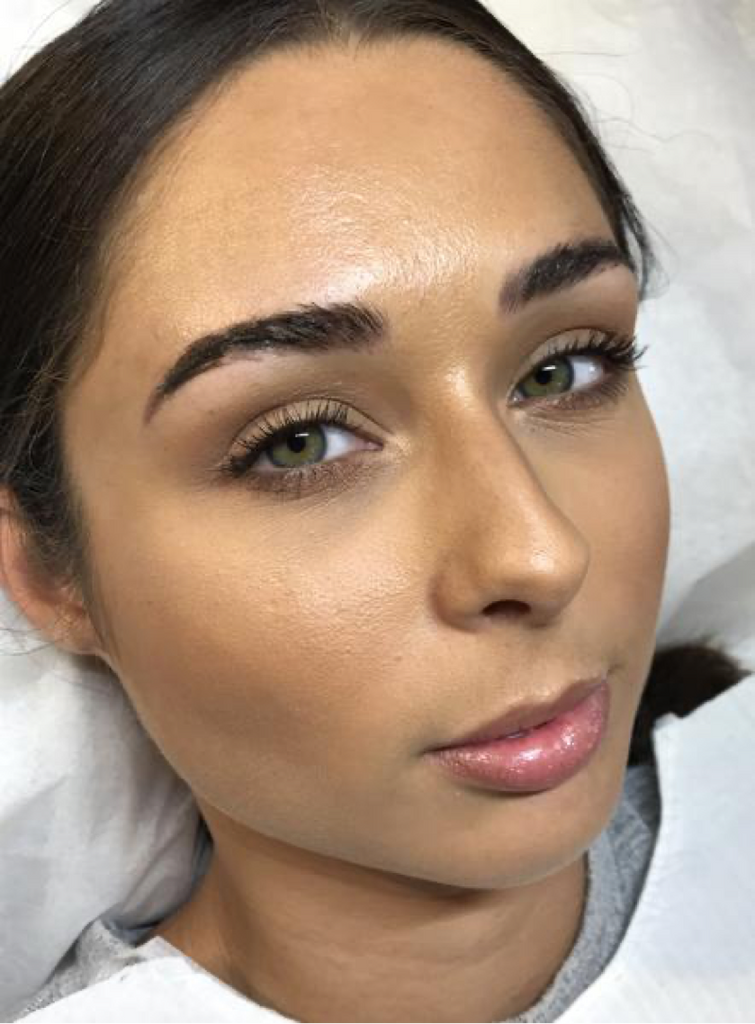
DAY 30
Guess what? Your healing process is complete! Your skin is completely healed and colour is looking great. They should look soft and natural. This is the point where you’ll be able to tell if there is anything you want to add or change, there could be a couple spots from loss of pigment, which is all dependent on how well your skin took the pigment, but this is OKAY because your follow-up appointment should be just around the corner!

Healed Results:


All in all my experience with microblading was amazing! Through the ups and downs of the healing process, I was always assured that everything happening was normal, and was guided on how to take proper care to ensure the best results!
Hopefully, this guide to a typical healing experience is helpful to artists looking to give client's an in-depth look at what they can expect!
You can watch my full experience below:
Touch Up: Tina recommends that a client does not come back for a follow-up microblading procedure until the skin is fully healed, and suggests 3 months after their initial procedure as the optimal time to come back for their follow-up!
Are you waiting for your touch-up appointment and need something to give you a bit more definition until then? Check out how you can use the Pro-Pencil or Skinny Pencil to touch up your brows in the meantime, here.
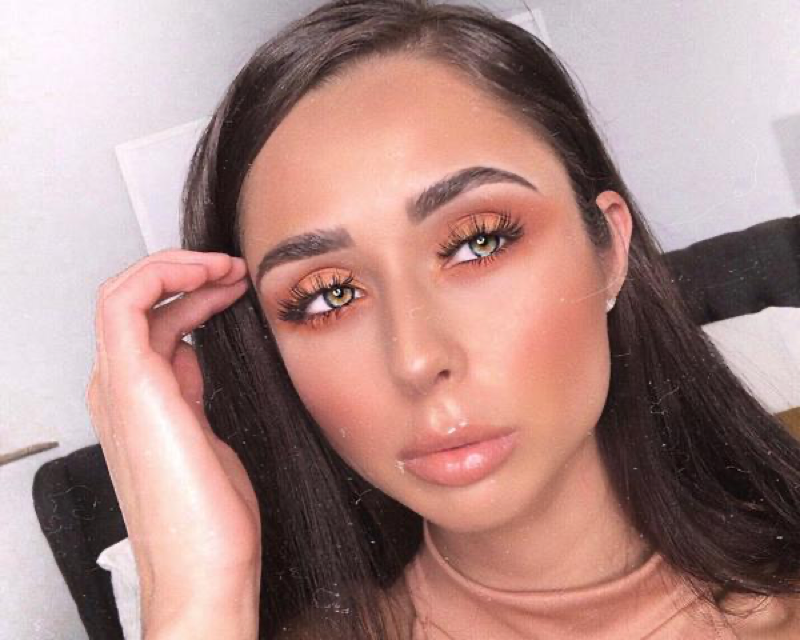
Fast forward 2 years and here are my results. Flawless!
Loved what you read and want to see more Healing Day by Day experiences?
Check out our other blog posts below:
Combo Brow Healing Day by Day
Lip Blush Healing Day by Day
Microblading: My Healing Journey
Healed Results:
Leave a comment
This site is protected by hCaptcha and the hCaptcha Privacy Policy and Terms of Service apply.