One & Done

Tip of the Day!
If you’re a new artist being trained to use multiple microblades, this tip is going to be a game changer for you.
I’ve had many new artists reach out to me saying they’ve been trained to use multiple microblades for one procedure either because:
1) They start to dull out
2) They need multiple needles to create various parts of the brows. Not only can this be very costly for artists just starting out, but could end up making your work inconsistent.
If you work with the right tools, they will perform consistently, save you time and money, and most importantly, give your clients the best results.
With our microblades you only need to use one size of the needle of your choice. Our needles are made of the highest surgical-grade stainless steel and are chosen for their pristine quality and sharpness. Due to this, you will never need more than one microblade to create the hair strokes you desire or worry about one going dull during a procedure.

If anything, you will need to watch your pressure and adjust it accordingly as not to cut the skin too deeply.
You can get the microblading results you desire with ANY of these tools. In addition to that, you can use the 19 Shader to add more depth for the client who is looking for more definition since microblading alone usually yields a very soft result.
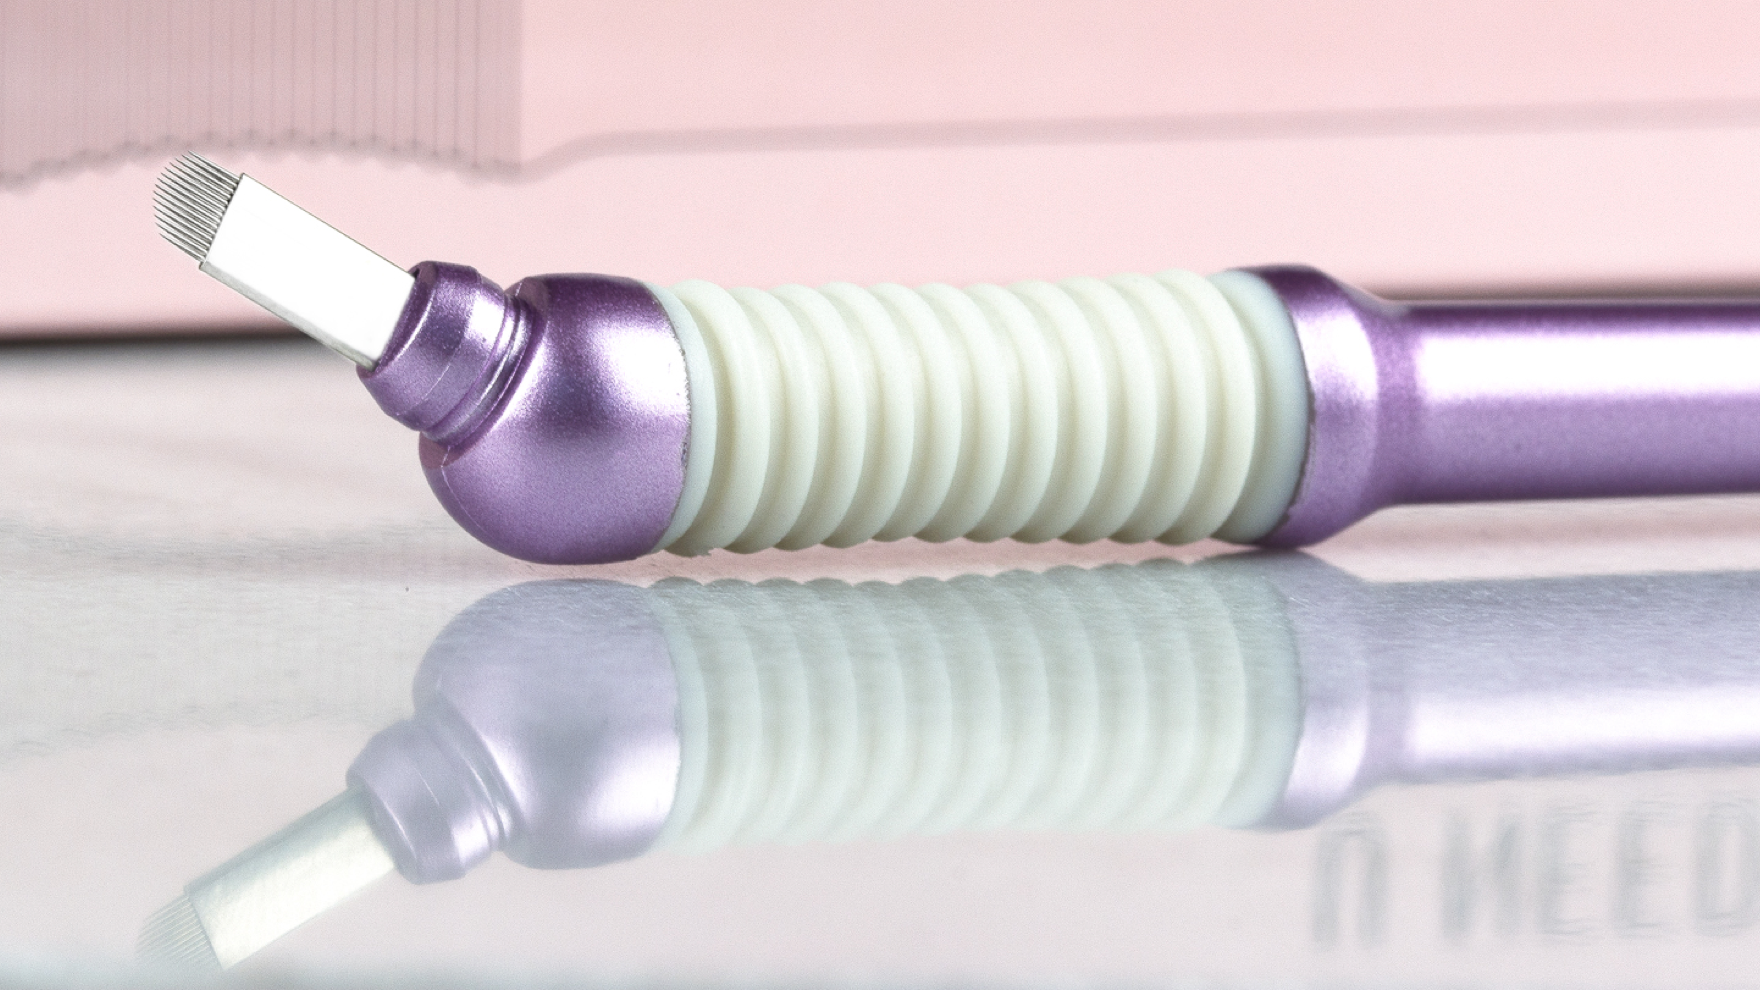
Choose one of our microblades based on your personal working style:
9 Classic: For thinner/narrower brow designs. The tip is small and pointed, allowing the most control and precision

14 Curved: For thicker, whispy-er brows to give you the coverage you need without sacrificing speed. Work off the midsection of this needle for perfect, crisp strokes.
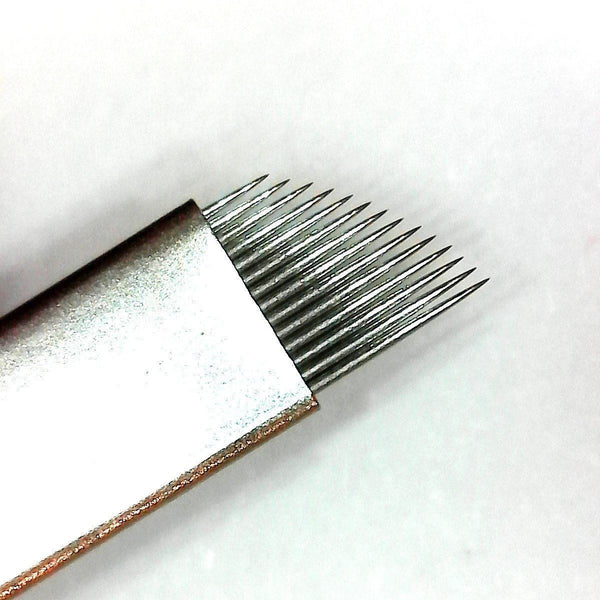
U needle: Allows you to easily turn your wrist to make those curvy strokes. Always work off the outer edges of this needle (as opposed to the center) for the easiest turns.


One undeniable key to great results is great technique supported by the best tools. My goal is to always help you reduce your learning curve and be the best artist you can be. For my best tips, be sure to read my blog post - MICROBLADING 101.
Feel free to share this article if you enjoyed it.


Leave a comment
This site is protected by hCaptcha and the hCaptcha Privacy Policy and Terms of Service apply.